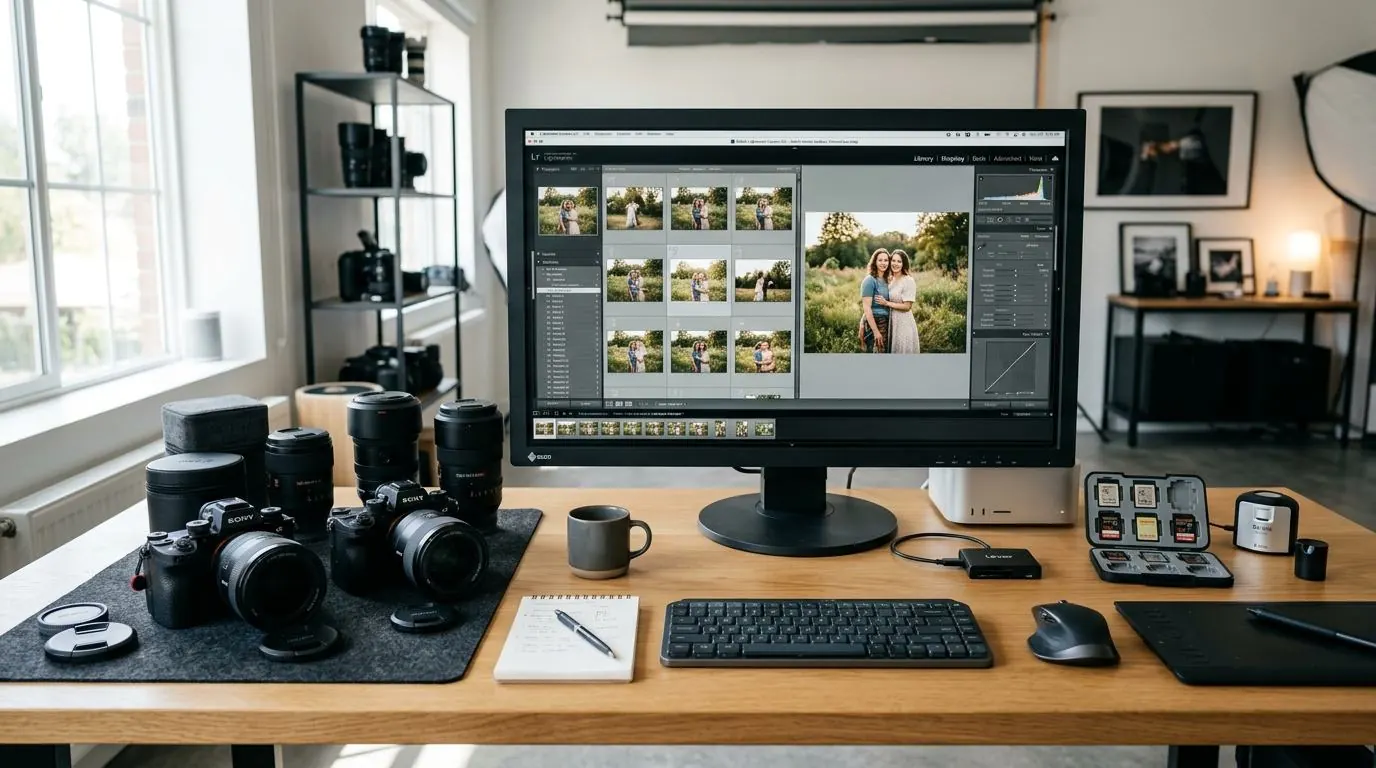
For professional photographers, the shoot is only half the job. The post-production workflow—culling, editing, and exporting—often takes more time than the actual event. And when a client requests multiple versions of a gallery (e.g., high-res for print, web-res for their website, and social-res for Instagram), exporting can become a logistical bottleneck.
This guide outlines a repeatable, efficient export workflow that protects your high-resolution master files while allowing you to quickly generate client-ready batches for any medium, saving you hours of tedious software processing.
1. Establish a Master File Archive
The foundation of any good photographic workflow is the Master File. A master file is your highest-quality, fully edited export from Lightroom, Capture One, or Photoshop.
- Format: 100% Quality JPEG or TIFF.
- Dimensions: Full resolution (e.g., 6000x4000 pixels).
- Color Space: sRGB (unless you have a specific fine-art print workflow requiring AdobeRGB).
- Purpose: Archival storage only. You should rarely send these massive files directly to a client unless explicitly requested, as they are too unwieldy for everyday use.
2. Define Standardized Export Profiles
Instead of manually typing in dimensions every time a client asks for a different size, define three standard export profiles based on typical use cases.
Profile A: High-Quality Print
For clients who want to order physical prints from a consumer lab (like MPix or Shutterfly).
- Dimensions: Keep native dimensions, but cap the longest edge at 4500px to avoid upload timeouts at consumer labs.
- Format: JPEG at 95% quality.
- Sharpening: Standard print sharpening.
Profile B: Web & Portfolio Delivery
The most common delivery format. Suitable for the client's website, blog, or digital viewing on 4K monitors.
- Dimensions: 2560px on the longest edge. This perfectly fills a standard 1440p monitor and looks great on 4K.
- Format: WebP at 85% quality (or JPEG if the client lacks modern software).
- Sharpening: Standard screen sharpening.
Profile C: Social Media Sharing
Optimized specifically for Instagram and Facebook to prevent algorithmic compression from ruining the images.
- Dimensions: 1350px on the longest edge (perfect for 4:5 Instagram portraits).
- Format: JPEG at 85% quality.
- File Size: Keep under 1MB.
3. Executing the Batch Export
Once you have your Master Files organized in a folder, you can generate these different profiles rapidly using a bulk processor.
Instead of reopening Lightroom (which is heavy and slow for simple resizing) or firing up Photoshop actions, use a lightweight, client-side batch resizer.
- Select your Master File folder.
- Drag and drop the images into the batch tool.
- Select "Profile B" settings (e.g., Max Width/Height 2560px, WebP, 85%).
- Process the batch. Because a good client-side tool uses your local CPU, this will take seconds rather than minutes.
- Save the output as a ZIP file directly into a subfolder named "ClientName_WebReady".
Repeat this process for the Social Media profile. You now have clearly segregated folders ready for client delivery.
4. A Note on Metadata and Copyright
Before delivering any files to a client, you must make a decision about EXIF metadata. Your Master Files contain the camera model, lens, exposure settings, GPS coordinates, and your copyright information.
- For Web/Social Delivery: It is highly recommended to strip EXIF data (specifically GPS location) for privacy reasons, but you must ensure your copyright IPTC data remains intact.
- For Print Delivery: Leave all metadata intact so the print lab can read the embedded color profile.
Ensure your batch resizing tool has an option to either strip or preserve EXIF data based on these needs.
Conclusion
Time is a photographer's most valuable asset. By separating your workflow into "Master Archiving" and "Batch Delivery," you stop treating every client request as a custom job. Standardize your dimensions, use fast local tools, and get back behind the camera.
