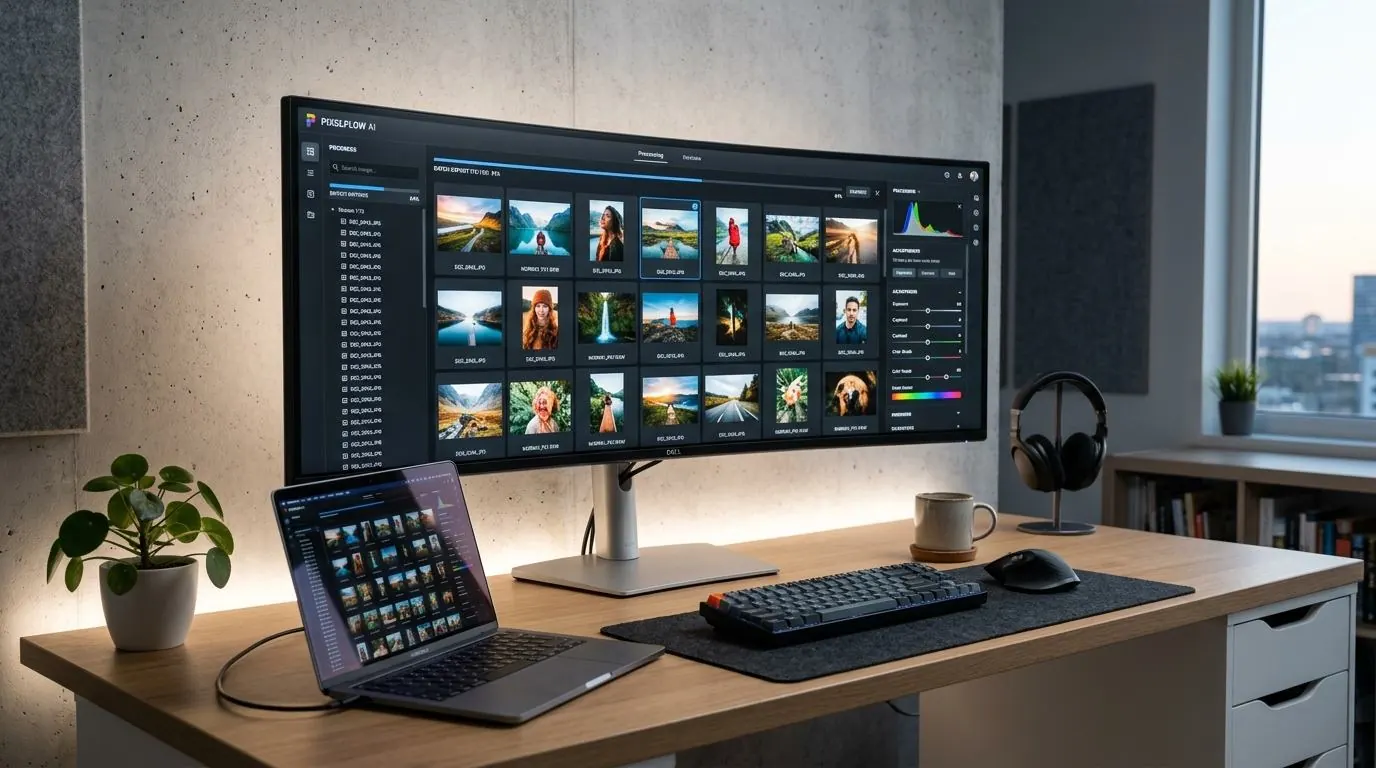
If you have ever needed to resize 500 photos for a new product catalog or a client gallery, you know that doing it one by one in Photoshop is a nightmare. Batch processing is essential, but choosing the right tool can be overwhelming given the sheer number of options available.
Some tools require you to upload your gigabytes of photos to a slow server. Others require installing bloated desktop software. In this guide, we break down exactly what you should look for when selecting a bulk image resizer, focusing on privacy, speed, and format support.
Key Features to Evaluate
When you are evaluating a bulk resizing tool in 2026, do not just look at the price tag. Consider the architectural approach the tool uses, as this dictates how fast it will run and how secure your data will be.
1. Client-Side vs. Server-Side Processing
The most important distinction in online tools is where the processing happens.
- Server-Side: You select 100 photos. The tool uploads them (which can take hours on slow connections). The remote server processes them, and then you have to download a massive ZIP file. This is slow, wastes bandwidth, and exposes your images to privacy risks.
- Client-Side: The tool loads entirely in your browser using modern WebAssembly. When you select 100 photos, they are processed directly by your computer's CPU. There is no upload and no download. The process is nearly instantaneous and 100% private.
Verdict: In 2026, there is almost no reason to use a server-side bulk resizer unless you are processing complex 3D renders. For standard JPEGs, PNGs, and WebPs, client-side is superior.
2. Format Support (WebP and AVIF)
A good bulk resizer shouldn't just change dimensions; it should act as a format converter. If you are uploading photos to a website, you shouldn't be using JPEGs anymore. Ensure the tool you choose can output to WebP (and ideally AVIF). This allows you to combine two steps into one: resizing the physical dimensions and converting to a next-gen format.
3. Aspect Ratio Control
Look for tools that offer intelligent aspect ratio locking. If you drop in a mix of horizontal and vertical photos and ask the tool to resize them to "800x800", what happens?
- A bad tool will stretch all the images into perfect squares, distorting them.
- A good tool will proportionally scale the images so that their longest side is 800px, maintaining the original aspect ratio and preventing distortion.
Setting Up a Batch Workflow
Once you have selected a fast, client-side tool, establishing a repeatable workflow will save you hours of manual labor.
- Audit the Destination: Determine the maximum size your images will be displayed at. If you are uploading to Shopify, your target is likely 2048px on the longest side.
- Organize the Source: Put all the high-resolution source files into a single folder on your desktop. Do not mix RAW files with JPEGs; export your RAWs to maximum quality JPEGs first.
- Configure the Batch: Open your bulk resizer. Set the target dimensions (e.g., Max Width/Height 2048px). Select WebP as the output format. Set the quality slider to 85%.
- Test One Image: Before running a batch of 500, run just one image through the settings. Check the output for visual quality and file size. Adjust the quality slider if necessary.
- Execute the Batch: Drag and drop the entire folder into the tool. Let your local CPU churn through the files.
- Save to a New Folder: Always save the output files to a new, dedicated folder (e.g., "Shopify_Ready_Images"). Never overwrite your original source files.
Conclusion
The days of paying for expensive desktop software just to resize a batch of photos are over. By choosing a fast, privacy-focused, client-side web tool, you can streamline your workflow and reclaim hours of your week.
